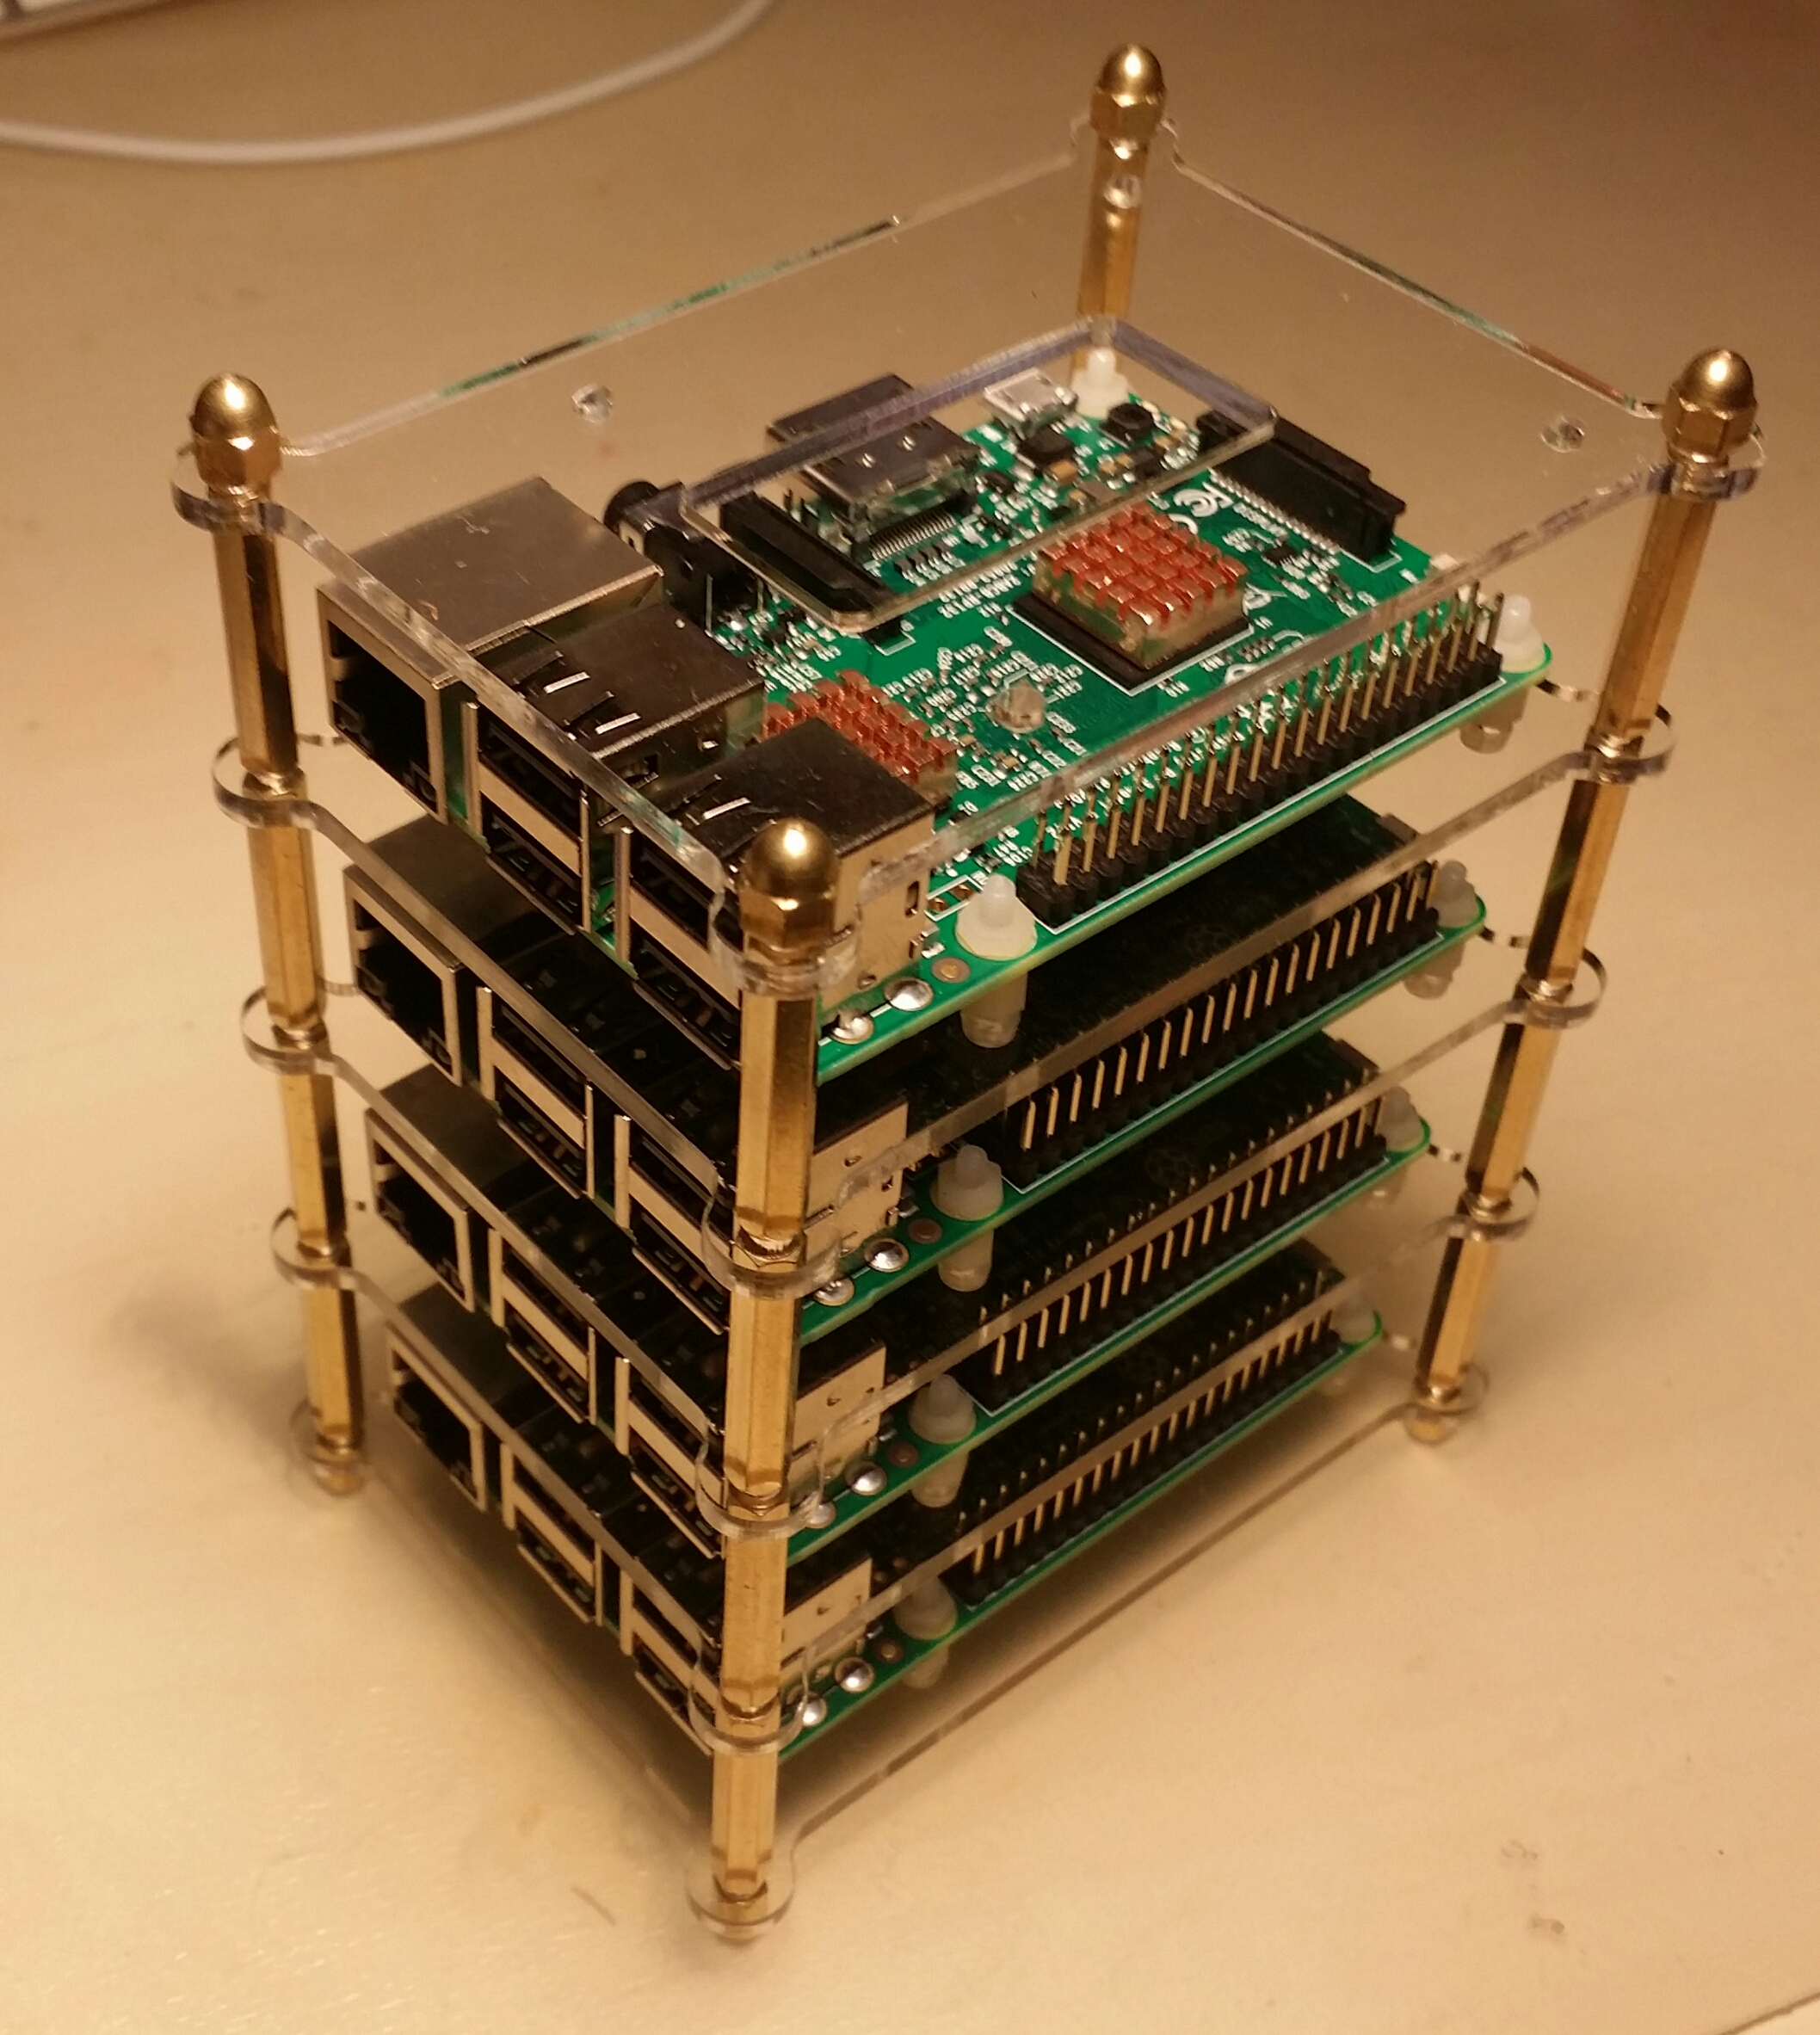
Build a Compact Raspberry Pi 3 cluster (part 1): assemble
Shopping list:
- 4 x Raspberry Pi 3 (model B)
- 4 x SanDisk Micro SD cards (64G C10)
- 4 x Micro USB power cables
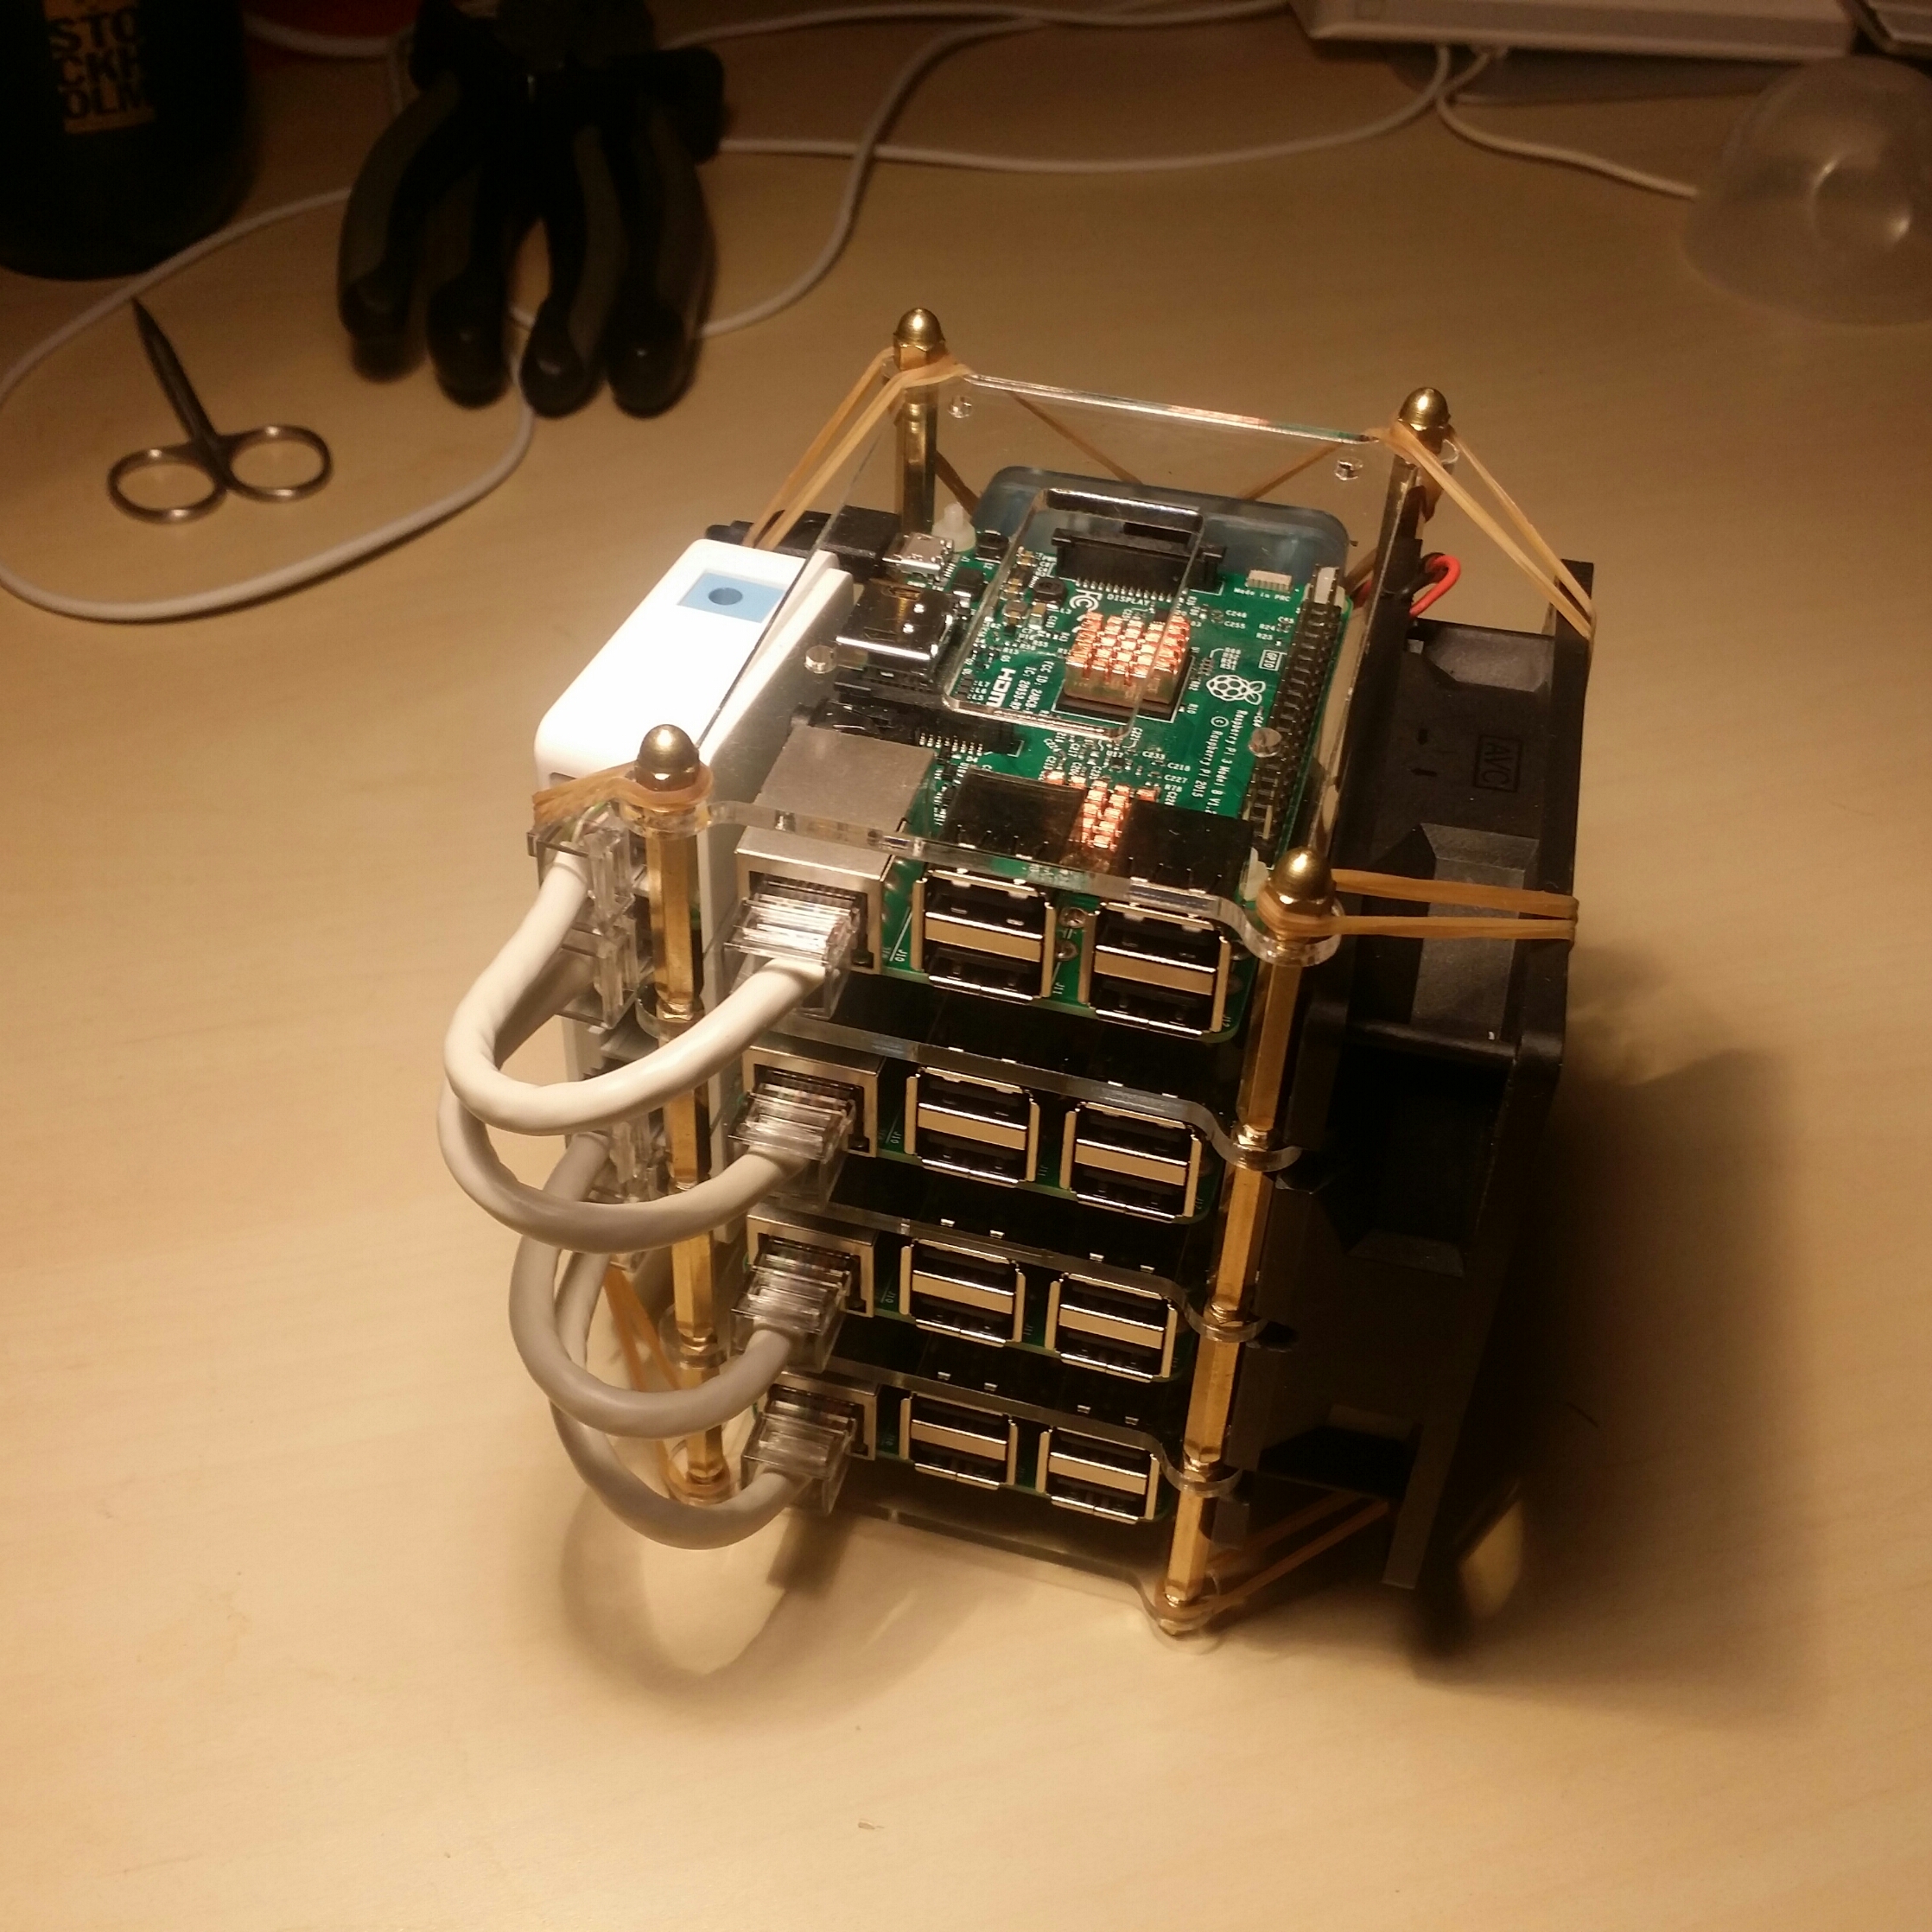
- 1 x 6-port USB power hub (5v12A)
- 1 x 5-port network switch (hub)
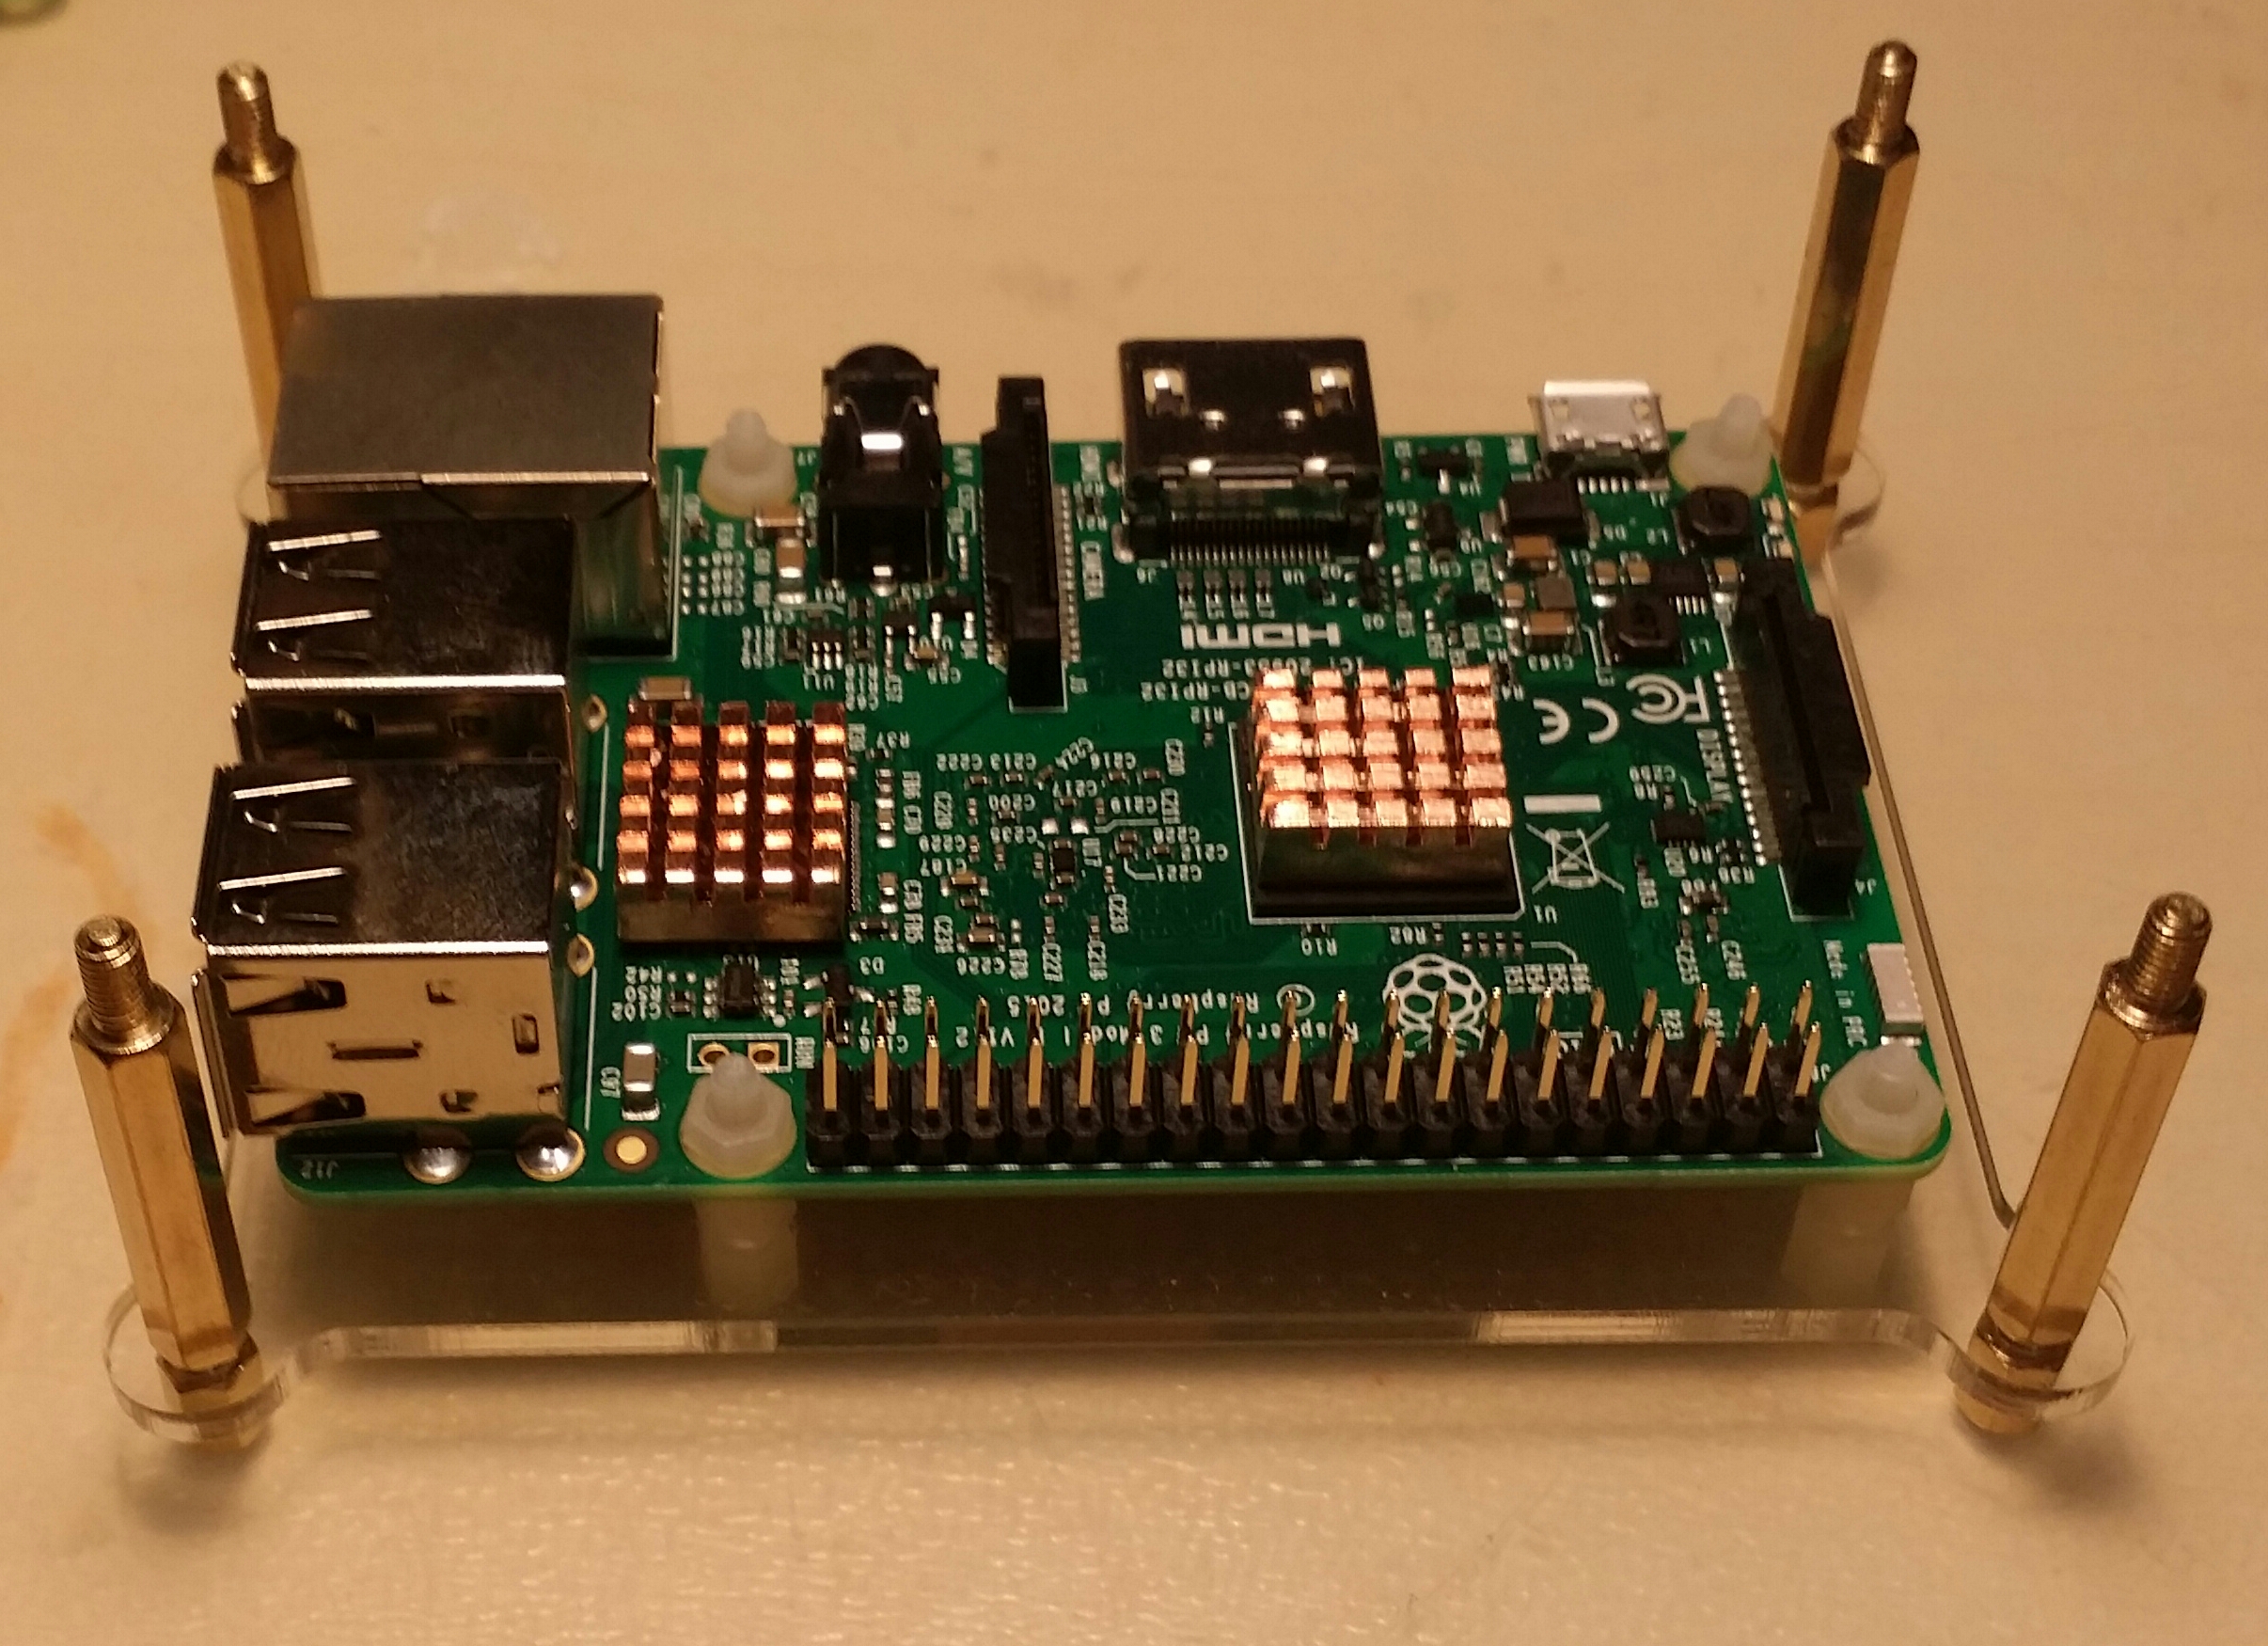
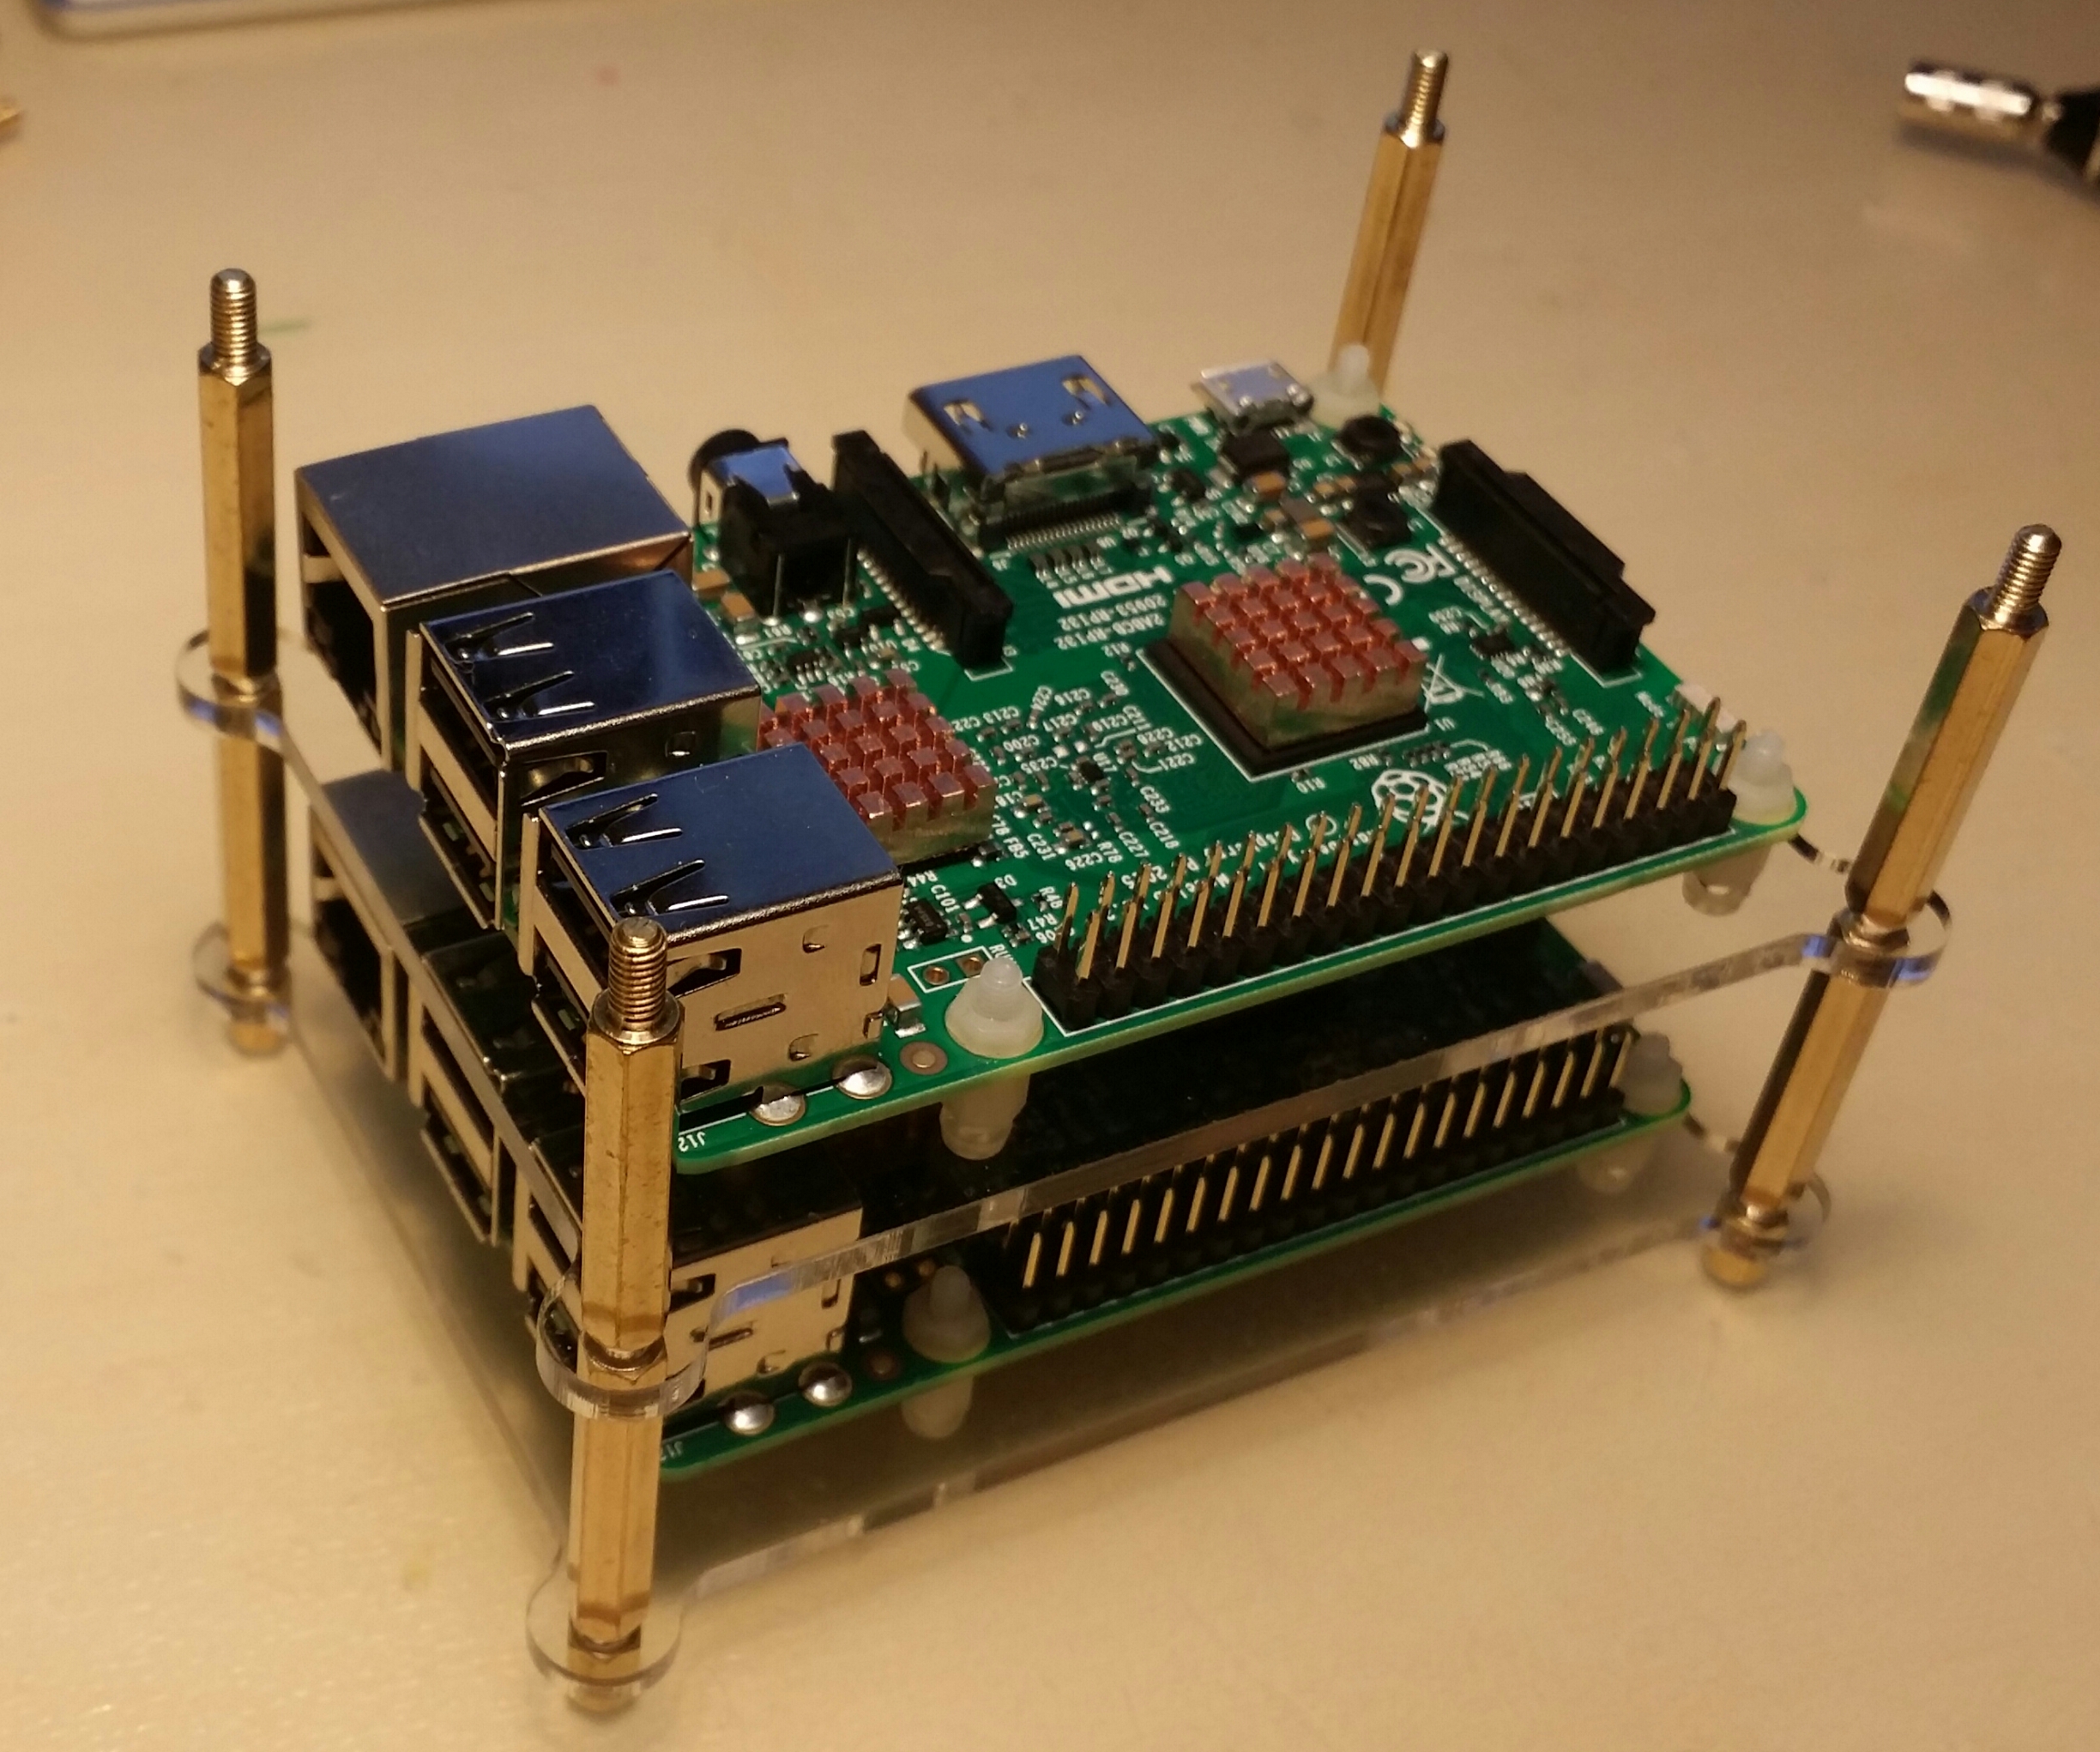
- 1 x Stacked Acrylic Case
- 4 x Ethernet cables (I made them myself)
The RPi 3 consumes more power than it’s predecessor due to it includes WiFi and Bluetooth. The official suggest of power supply is no less than 800mA, but to run it safely, it’s recommended to use a 2.5A USB charger! A USB charger with one port and the maximum output current is 2.5A is common, like iPad’s charger, but a 4-ports USB charger, all ports with maximum output current 2.5A is very rare. I spent a lot time, and finally found this cheap yet meet the requirement USB power hub. It has 6 USB ports, and maximum output current can reach to 12A (the seller said 10A is stable,while 12A can’t last long ).
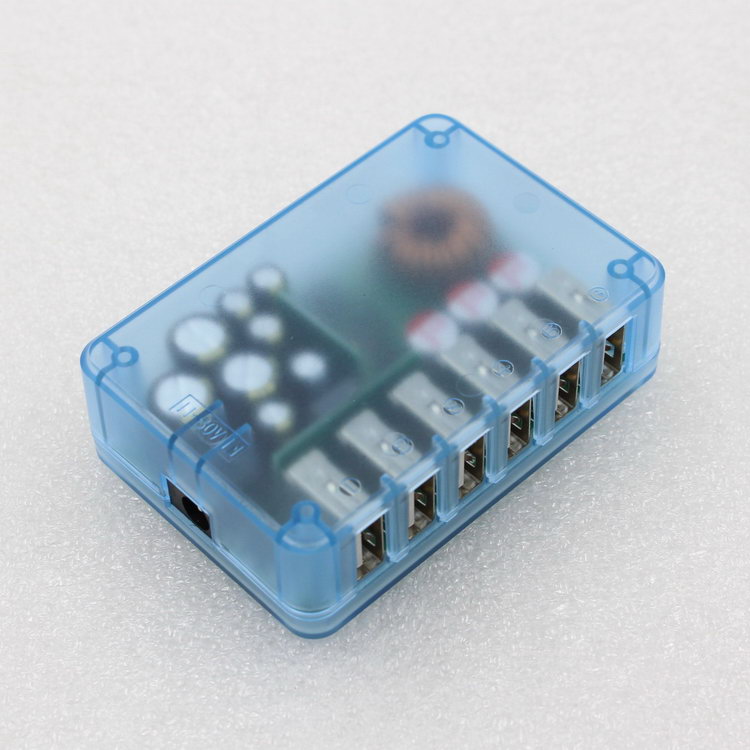
The two extra USB ports can be used to supply a fan and the network switch (hub), they consume around 0.7A together.
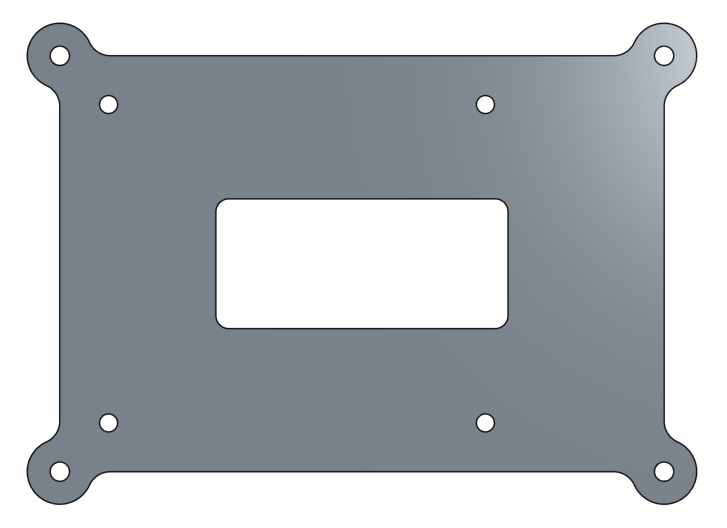
You can buy the stacked Acrylic case from a web shop, however, I designed mine because I feel the space between two layers should be bigger. Here is the Acrylic layer (3mm) I designed, you can download the dwg document, and ask somebody who has a laser cutter to make them (5x) for you.
My stacked shelf also need the following bolts and nuts:
- 25 x Nylon bolt (M2.5x6)
- 25 x Nylon pillar (M2.5x5+6)
- 25 x Nylon nut (M2.5)
- 4 x Copper pillar (M3X5+6)
- 16 x Copper pillar (M3X25+6)
- 4 x Copper nut (M3)
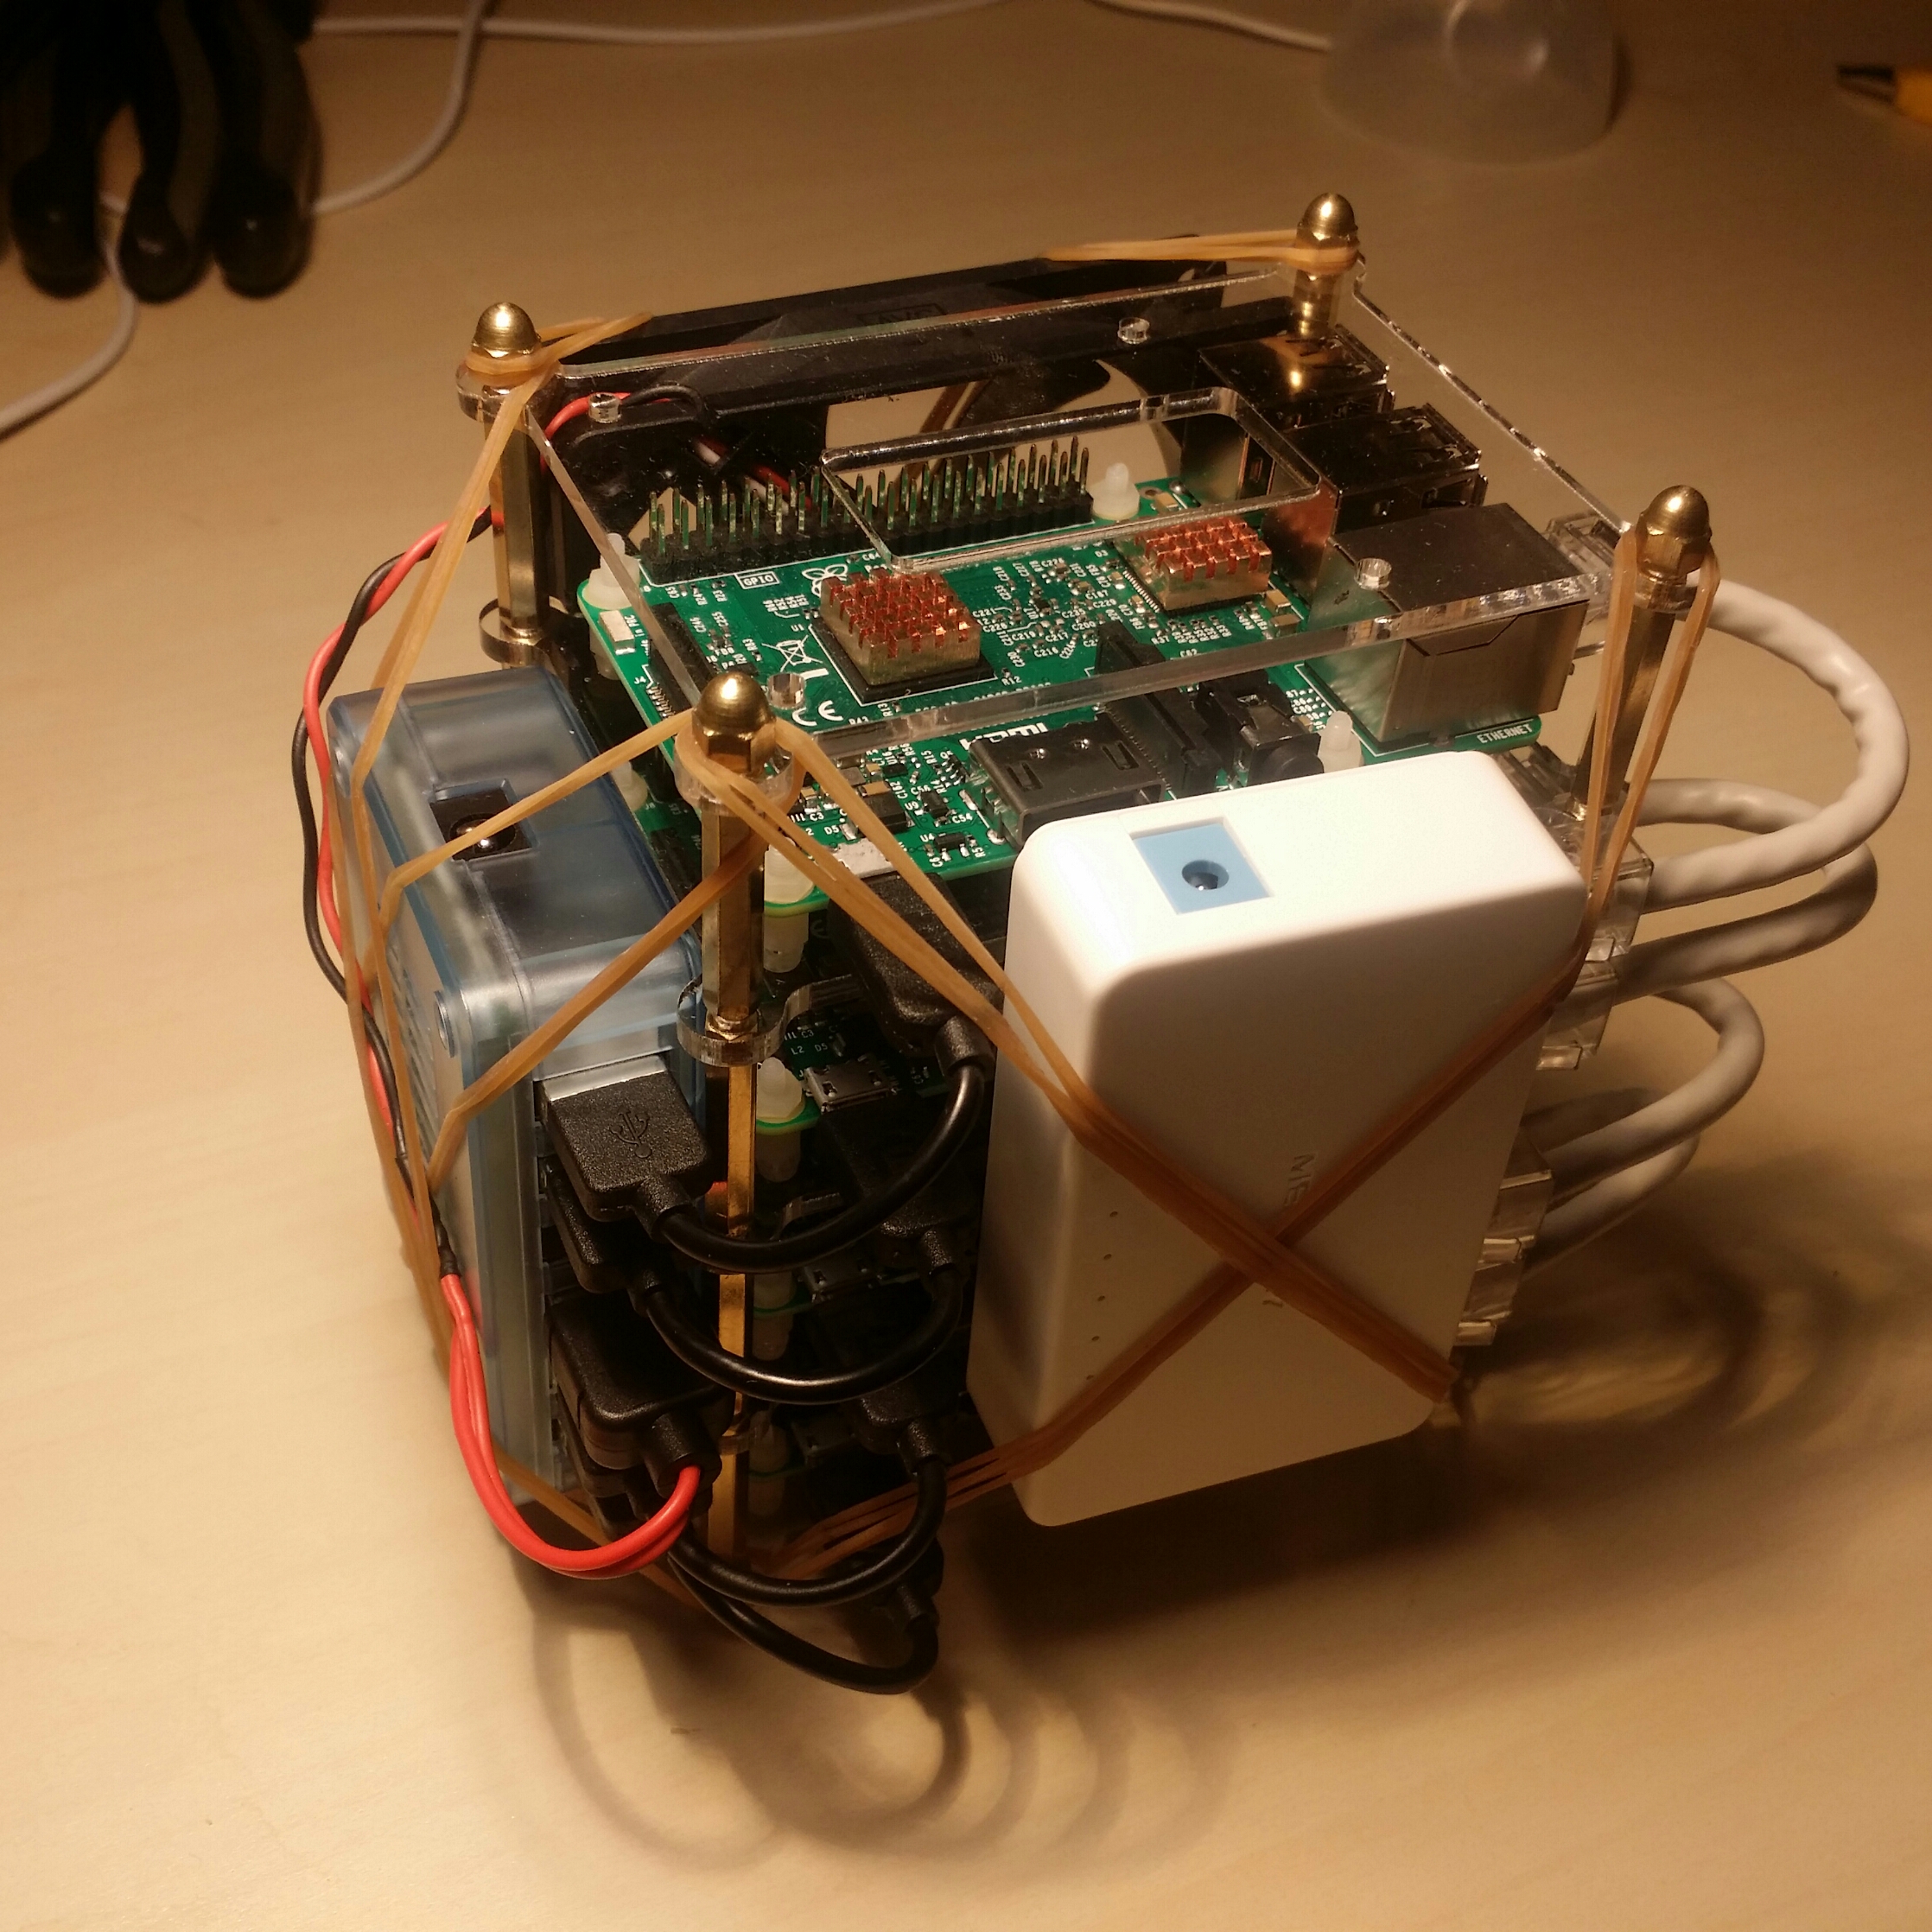
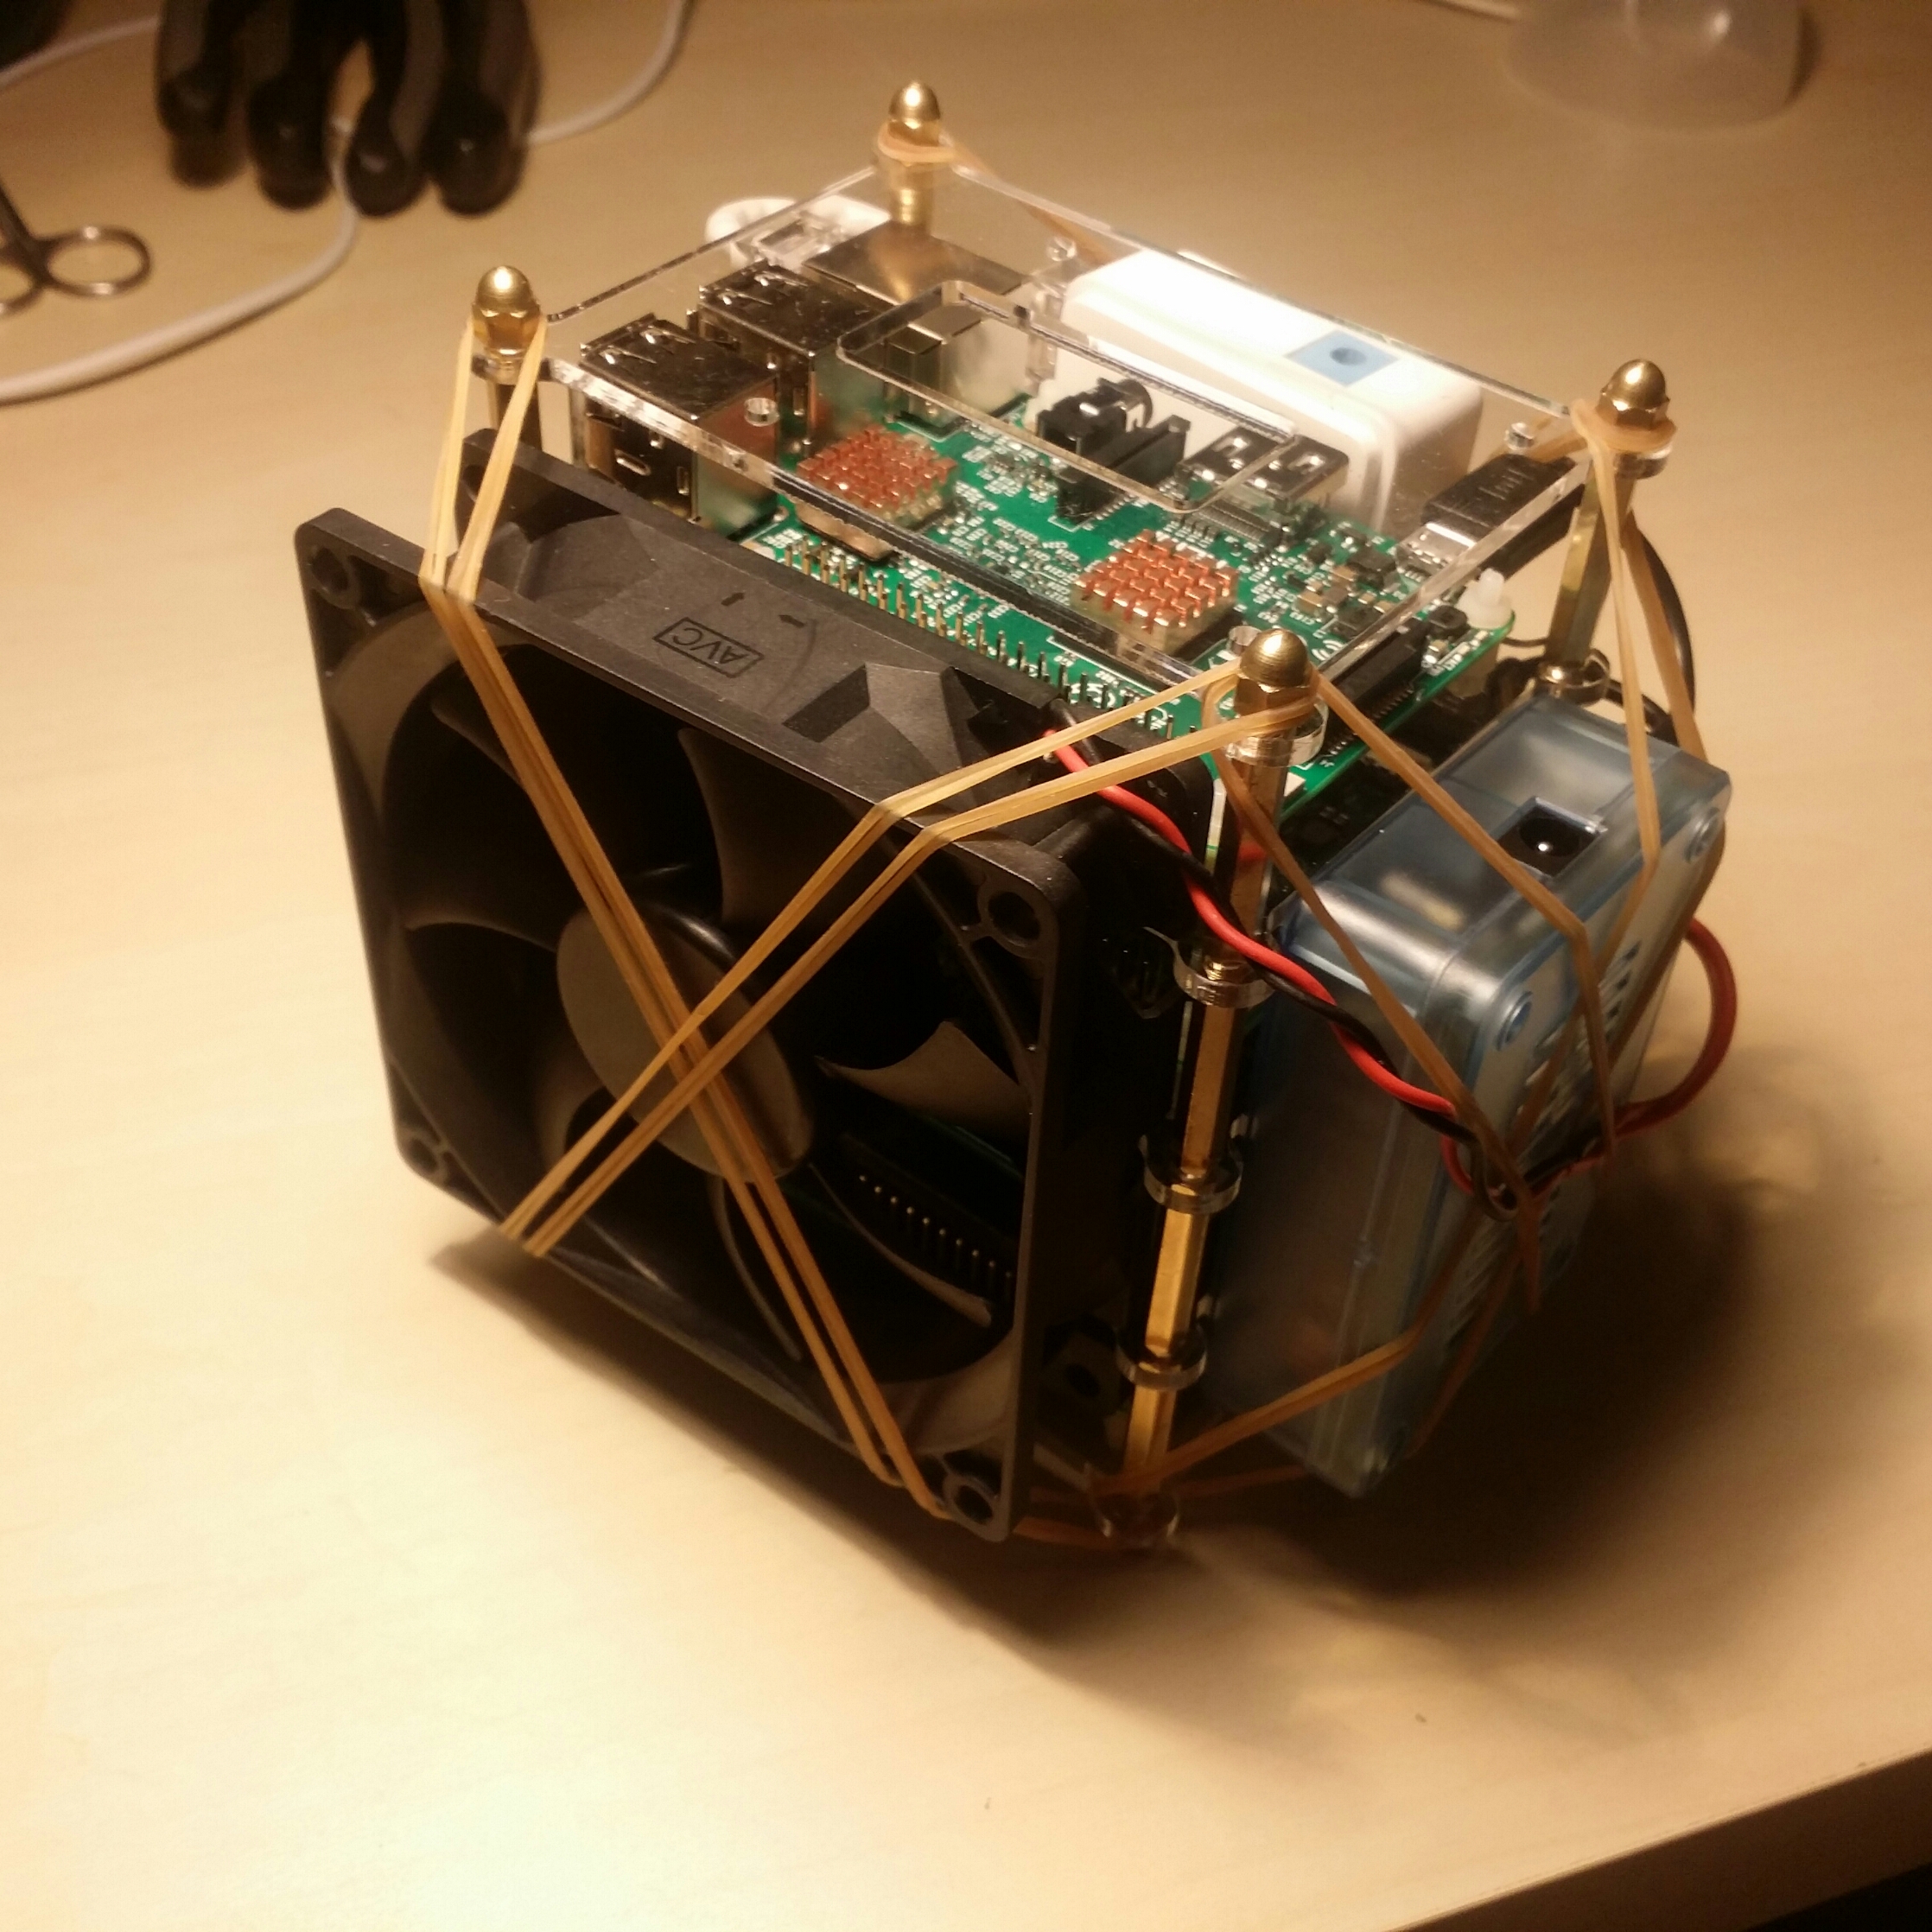
The assemble is quite easy, I think you can understand by looking at the following pictures: