Remote Desktop Access to my Acer G3-710
I decided to learn some knowledge about Machine Learning or Artificial Intelligence though I have no idea what I can use it for. I believe a Data Scientist can’t keep his competence in next 10 years if he was not good at ML/AL.
So, I tried the TensorFlow on my ubuntu server drop (DigitalOcean). Due to there is no graphic card, and the CPU speed is slow, it’s suffering to wait to get the result. Then I tried my iMac Retina, the CPU speed is high, however the graphic card is not supported by TensorFlow (actually is not supported by CUDA). Then, I was thinking maybe I can build one myself, I mean buy computer parts (Motherboard, CPU, graphic card, disk, box, memory, etc) and put them together. But soon, I gave up: it’s really inconvenient to have a such project in Norway than in Beijing (where I learn how to DIY a computer).
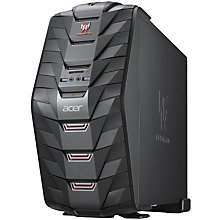
OK, then I put this project aside until I know an advanced computer is on sale: Acer G3-710. This computer is designed for computer game player, however due to it has a GeForce GTX 1080 graphic card, and intel Core i7-6700 CPU together with 16GB memory. After inquiring some people with experience on machine learning, I decided to buy one, the price is 15990 NOK.
This computer comes with Windows 10 installed. So I decided to install a Ubuntu 16.04 along with Windows 10 system first. However, I don’t know why, there is no option to choose to Ubuntu when you start the computer, it always go into Windows system. So, it’s simple to erase the disk and install Ubuntu only.
##Install Ubuntu 16.04
-
Download Ubuntu 16.04.1 LTS
-
Create a bootable USB stick following this tutorial.
-
Restart your computer and press the F12 key to bring up the boot menu. Then choose to boot from the Ubuntu USB stick, and follow the instructions.
-
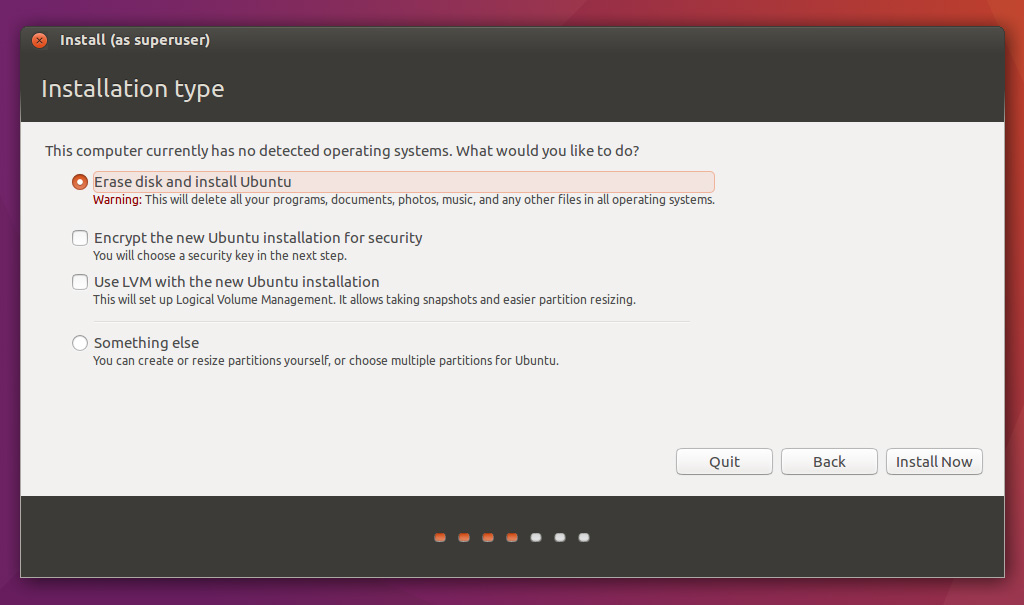
The the install type dialog come up, choose “Erase disk and install Ubuntu”. Then follow the instruction to finish the installation and restart the computer.
Remote access to Ubuntu using SSH:
I don’t want a screen for this computer, so I can prove to my wife that I buy this computer is not for playing computer game. But I think I need a screen to show some graphic result as the shell terminal is not a display device. The VNC (Virtual Network Computing) seems to be a solution. First, we need to enable remote access to the computer using SSH (Secure Shell). Using the following command to install openssh-server, and then test it from another computer.
sudo apt-get install -y openssh-server
E.g. if you have another computer which is Windows system, you can use putty, if you have a Mac OS computer, you can use the Terminal directly.
Remote Desktop access to Ubuntu:
This post describes how to install VNC server and remote desktop access from Max, Linux & Windows to Ubuntu 16.04 clearly. Here I list only the steps in a compact version:
On Ubuntu (sever) side :
- Update Ubuntu system.
sudo apt-get update && sudo apt-get upgrade
- Install Ubuntu desktop environment:
sudo apt-get install -y ubuntu-desktop gnome-panel gnome-settings-daemon metacity nautilus gnome-terminal
- Install the VNC server:
sudo apt-get install -y vnc4server
- Launch the VNC server to test your connection. You will be asked to set password for VNC server.
vncserver :1
- Edit the end of your ~/.vnc/xstartup file to match the following configuration. This starts the desktop dependencies as background processes upon starting the VNC server:
#!/bin/sh

# Uncomment the following two lines for normal desktop:
# unset SESSION_MANAGER
# exec /etc/X11/xinit/xinitrc

[ -x /etc/vnc/xstartup ] && exec /etc/vnc/xstartup
[ -r $HOME/.Xresources ] && xrdb $HOME/.Xresources
xsetroot -solid grey
vncconfig -iconic &
x-terminal-emulator -geometry 80x24+10+10 -ls -title "$VNCDESKTOP Desktop" &
x-window-manager &

gnome-panel &
gnome-settings-daemon &
metacity &
nautilus &
- Close the VNC server and restart it with new arguments which creates higher resolution desktop:
vncserver -kill :1
vncserver :1 -geometry 1600x1200
On client (Mac/Windows) side:
-
Download and install RealVNC Viewer
-
Open RealVNC Viewer and type IP:1 in VNC Server field. Where the IP is the ip address of your Ubuntu computer. You will be asked to type the password for VNC server, then the Ubuntu’s desktop should come up.
If you got a gray screen with mouse as “X”, then the easiest solution is using another port, like: vncserver :2 -geometry 1600x1200
Starting Ubuntu VNC Server on Boot
We can let the Ubuntu computer to start VNC server itself by adding a command to crontab. Open your crontab and edit. You will asked to choose a text editor, please choose nano.
crontab -e
Add @reboot /usr/bin/vncserver :1 -geometry 1600x1200 to the bottom of above file, save and exit.
Now, restart the computer to test if the remote desktop access still work.