Turn your Mac into a server for sharing photos
A month ago, I attended a friend’s wedding as a photographer (I am not good at shooting, just have a not so bad camera). I took more than 1000 pictures in high quality format. Later, I relized to share them with the guests attended wedding is a challenge: I need to go through every picture to identify if it contains the guest required pictures. After several rounds, I have to stop and try to find an efficient method.
Some friends suggested to use Google Photos or Dropbox. However, Google Photos will re-sample the pictures to small size, e.g. a 8 MB image can be reduced to 0.4 MB. And both Google Photos and Dropbox have a limited space which is not enough to store all my photos. Why not build a webserver myself? Remember, now my title is IT Advisor!
To build a server under Mac OS is simple. What you need is open Mac’s terminal and type the following command:
sudo apachectl start
Now, if you open your web browser and type http://localhost as the address, you will see your simplest home page saying: It works!. The http://localhost is actually the alias of your LAN IP, which you can check using the ifconfig command in terminal (eth0 inet addr:). So, you can also type your LAN IP to access your server. The LAN IP is accessable only inside of the same LAN. For example, if you have set a wifi, and your phone can access the wifi, then you can access your server use its LAN IP with your phone. But, for sure, this is not what we need, we want people outside our local network to access the server, just like they access Google, etc. Then we come to the concept of Port forwarding. Port forwarding allows people outside your local network can access your computer through your external IP. Note the external IP is not the LAN IP, you can open an IP query website to see your external IP, like, http://ipinfo.io. Suppose you live in an apartment, the relationship of external IP and internal IP can be treated as your street address and your room number. Some friends want to visit you, and you tell him/her your address, when he/she comes to your address, the door guard will check if he/she is your friend and direct him/her to the right room number. The door guard play the character of Port forwarding.
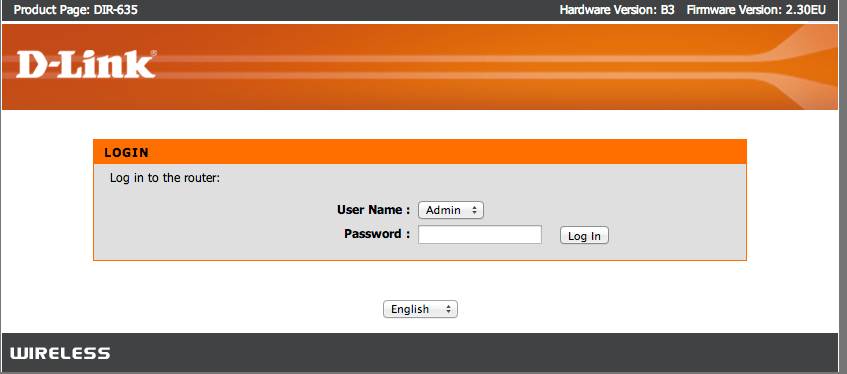
“OK, tell me how to do Port forwading, please.” Well, it depends, but generally you can configure it on your Router. Take mine as the example, I use D-Link, which I can configure the Port forwarding by logging in: 192.168.0.1.

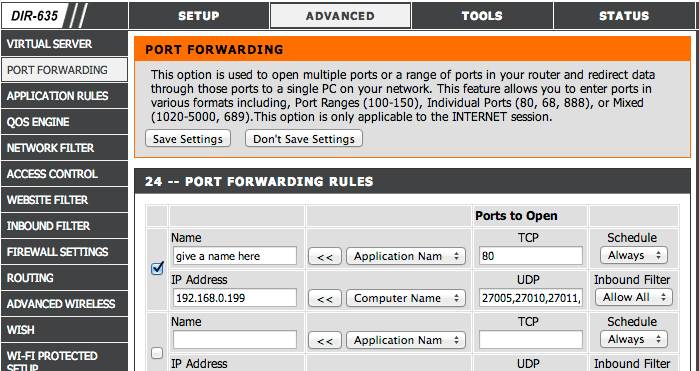
Navigate to “Port forwarding” and configure parameters like following,

and save the changes. After saving changes, you will be asked to reboot the router, follow the instruction. After several seconds, you can access your severl through your external IP address, and your friends can also do the same.
Well, the sever contains nothing except It works!, I need to create a web page containing links to my photos. The “It works!” belong to the “index.html” file under directory /Library/WebServer/Documents/, which is the default web page of the server, we can modify that file to make it contain what we need.
To convenient my users, I conside the following:
- Users can preview photos, so they can decide which photos to download.
- Users want high quality (original) photos.
Based on above assumed requirements, I decide to find a JavaScript library for photo galleries. After some comparision, I decide to use Galleriffic.js. To generate such a page is not difficult, we take first take a look of its source code, seperate the source code into to three parts: part one is the source code before the start of photo-items, part three is the source code after photo-items, and part two is the item source, then we can use R to read part one and part three, replace the photo-items with the photos on my disk in part two, and composite these three parts into one HTML file, finally, replace the content of “index.html” with the generated HTML file (also named “index.html”).
Note: the image links should be changed to the image paths in your disk, and don’t forget to change the links to CSS and JavaScript sources! Now, log to your external IP to see what happened!
